How to Replace Fluorescent Tubes with LED Bulbs (Without the Guesswork or Nasty Surprises)

Replacing Fluorescent Tube Bulbs with LED

Ever flipped the light switch in your garage or closet and been greeted by a faint flicker… or worse, that bzzzzzz hum that makes you wonder if the thing’s about to explode?

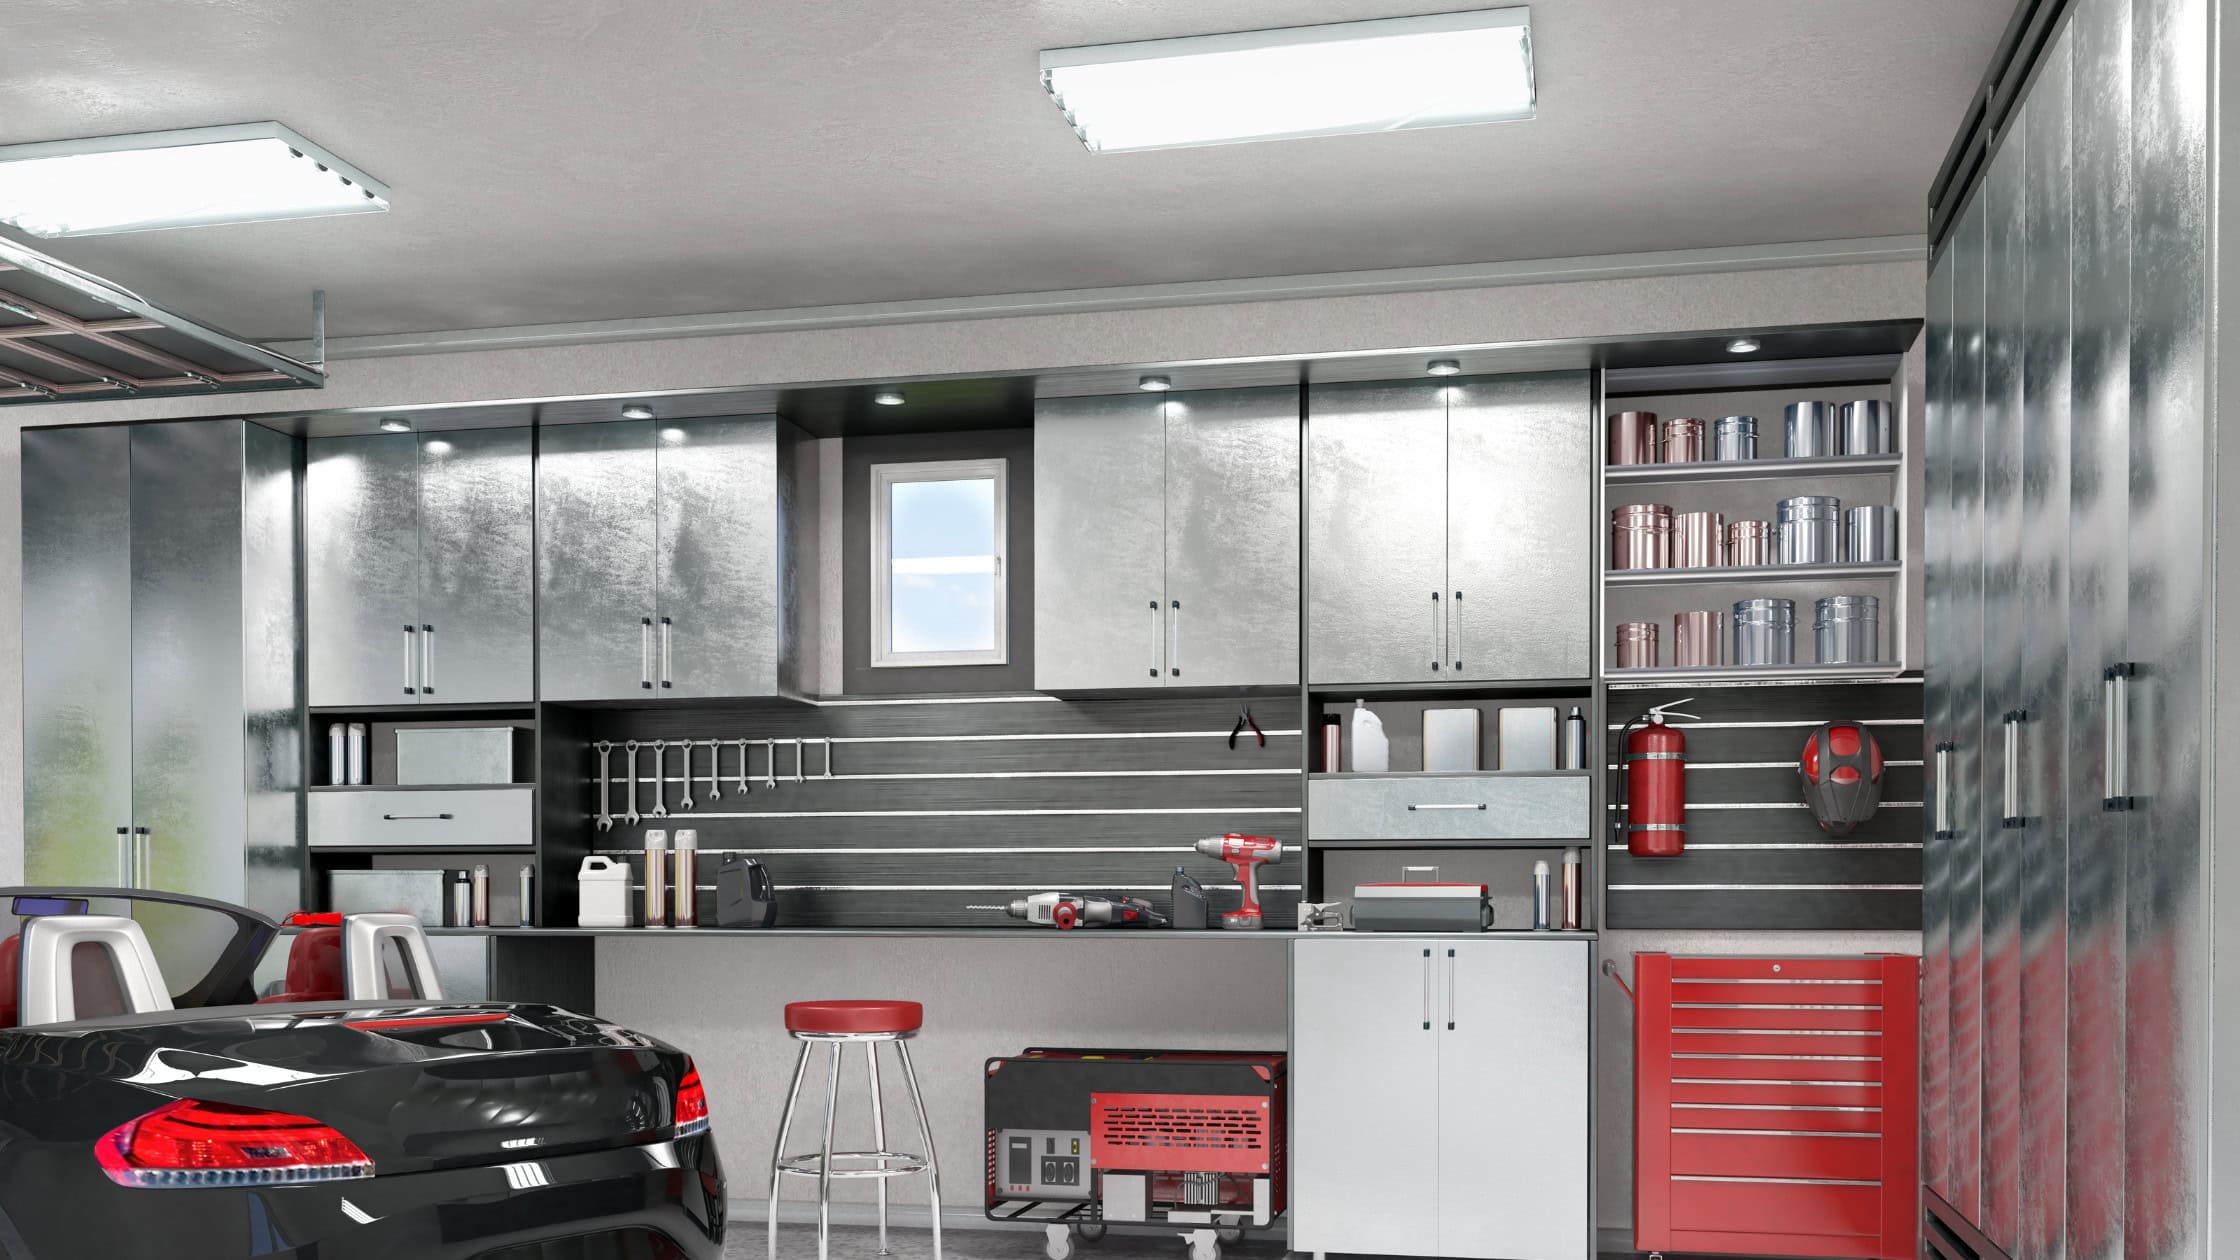
That was me, every single morning.  Picture it: early morning, a closet dark, and fluorescent tubes taking their sweet time warming up — if they lit up at all. One day, I decided enough was enough. That night, I ordered LED replacements. A week later, I had brighter light, zero flicker, and I haven’t touched those bulbs since.

Here’s how you can replace fluorescent tube bulbs with LED lights — quickly, safely, and without frying a circuit or wasting money on the wrong tubes.

Why Bother Replacing Fluorescent Tube Bulbs with LED?

Because you’ll get all the benefits and skip the headaches of fluorescent lighting.

  • Lower Energy Bills – LEDs sip power. You could save 30–50% in energy use.
  • Lasts for Years – Expect 25,000+ hours. That’s a decade for most people.
  • Better Light Quality – Instant-on, no flicker, no warm-up time, no hum.
  • Low Maintenance – No ballast failures, no mercury, no special disposal.

You may also be interested in: The Hottest Lighting Trends of 2025: Illuminate Your Space in Style

What You’ll Need To Get Started

  • New LED tubes (check type below)
  • Step stool or ladder
  • Screwdriver (if your cover needs removing)
  • Voltage tester (optional but smart)
  • Safety glasses (because old tubes can shatter)

Step-by-Step: Replacing Fluorescent Tubes with LEDs

1. Kill the Power

Switch off the light and flip the breaker.

If you’re not sure the power’s dead, use a voltage tester. Don’t skip this — even an “off” light can still be live.

2. Remove the Old Tubes

  • Pop off the cover/diffuser if you have one.
  • Grip each fluorescent tube, twist 90 degrees until the pins release, and gently pull it out.
    ⚠ Watch out: Fluorescent tubes are glass and contain mercury. Don’t drop them. Dispose of them at a recycling center — not in your trash can.

3. Identify Your LED Tube Type

This is the step most people skip… and regret.


There are two main types of LED tube: 

  • Plug-and-Play (Direct Replacement) – Slides right in, works with many existing ballasts.
  • Ballast-Bypass (Direct Wire) – Requires bypassing/removing the ballast. This means rewiring the fixture.

Pro tip: If your fixture’s ballast is old or buzzing, go with a ballast-bypass LED. It’s a bit more work up front, but it eliminates future ballast failures. If you’re not comfortable with wiring, this is when to call an electrician.

4. Install the LED Tubes

  • Plug-and-Play: Just insert and twist into place like a fluorescent tube.
  • Ballast-Bypass: Follow the wiring diagram on the LED tube packaging or let an electrician handle the rewire. (It usually involves connecting the hot wire to one end of the tube and neutral to the other.)

You may also be interested in: The Truth About Unlicensed Electrical Work

5. Power On and Test

Flip the breaker back on and switch the light. You should see instant, bright light — no flicker, no hum.

Common Mistakes to Avoid When Switching to LED

  • Buying the wrong type of LED – Check compatibility before you start.
  • Skipping the breaker shut-off – Dangerous and not worth the risk.
  • Ignoring ballast health – A bad ballast will kill even a plug-and-play LED.
  • Not recycling old tubes – Fluorescents contain mercury. Handle responsibly.

You may also be interested in: What Type of Outdoor Lighting is Best?

Bottom Line

Switching from fluorescent to LED is one of the easiest, most satisfying home upgrades you can make.

In my case, the difference was night and day (literally) — my closet is brighter, my electric bill is lower, and I never have to wait for my lights to “warm up” again.

If your current tubes are buzzing, flickering, or just plain dim, grab the right LEDs this week and make the swap. You’ll thank yourself every time you flip that switch.

Share this post: