Tagged as: Costs, Energy-efficient lighting, TECO
If you’re a homeowner in Hillsborough County, brace yourself: TECO’s residential electric rates are going up starting January 2026—and it won’t be a one-time bump....

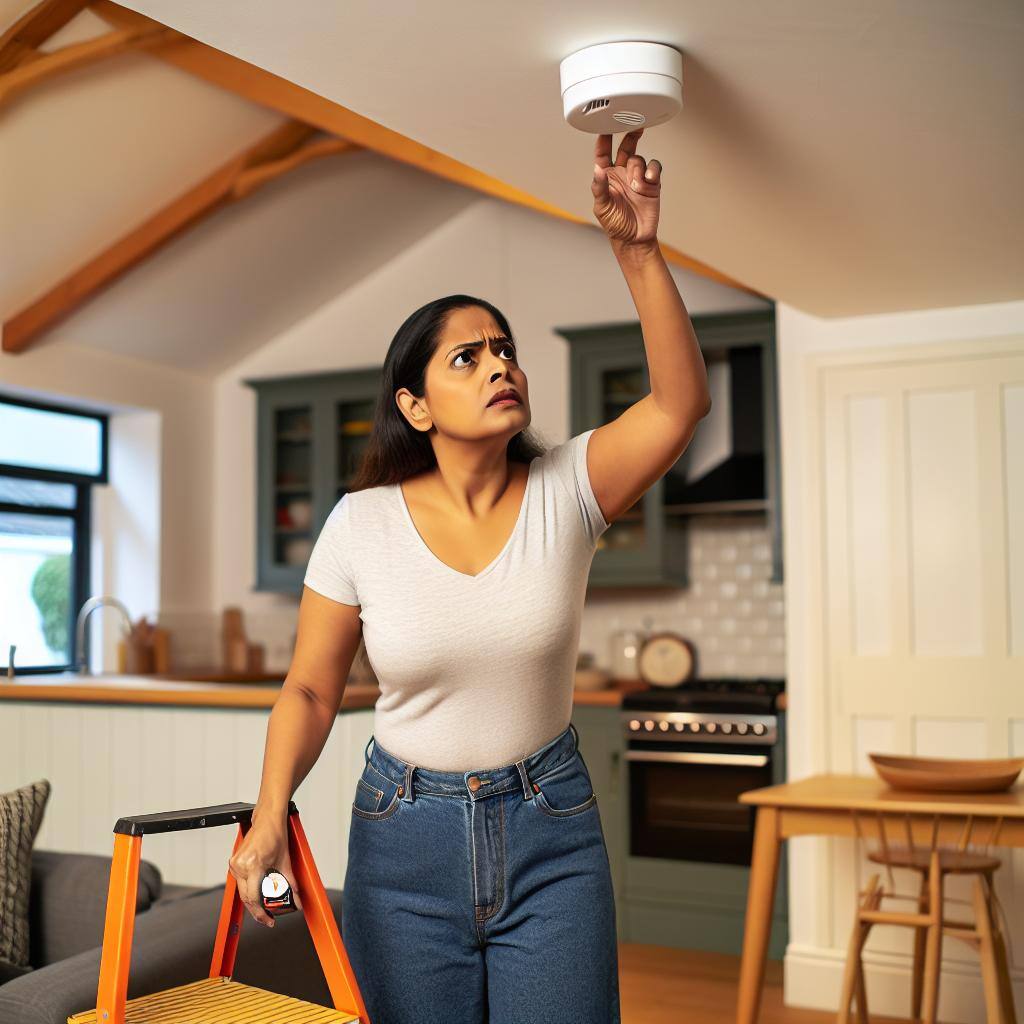
There’s nothing more annoying than the persistent chirp of a smoke detector with a low battery. It’s not just annoying—it’s a critical reminder that your home’s fire safety system needs attention. Here’s a simple guide on how to change chirping smoke detectors to ensure your home stays safe and sound.
First, locate the smoke detector that’s making the noise. The chirp is usually a sign that the battery is low or there’s an issue with the unit. If you have multiple detectors, listen carefully to pinpoint the exact one.
Before you start, gather the tools you’ll need:
Carefully remove the smoke detector from its mounting bracket. Most detectors will twist off the bracket with a simple counterclockwise turn. If it’s secured with screws, use the screwdriver to remove it.
Open the battery compartment, usually located on the back of the detector. Take out the old battery and replace it with a new one. Make sure the new battery is installed correctly with the positive and negative terminals aligned properly.
Before reattaching the detector to the ceiling or wall, press the test button to ensure the new battery is working. The detector should emit a loud beep or series of beeps. If it doesn’t, double-check the battery installation.
Once you’ve confirmed the detector is working, reattach it to the mounting bracket. Twist it clockwise until it’s secure, or screw it back in place.
Some smoke detectors may need to be reset after a battery change. Refer to the manufacturer’s instructions for specific steps. This might involve holding the test button for a few seconds or pressing a reset button.
To avoid future chirping, remember to:
Changing a chirping smoke detector is a straightforward task that ensures your home remains protected against fire hazards. Regular maintenance and prompt battery replacement can keep these lifesaving devices working properly.
For more detailed instructions, check out resources from NFPA and Consumer Reports.
Stay safe and sound!


