Biggest Landscape Lighting Mistakes and How To Fix Them

Landscape lighting can transform your outdoor space into a magical nighttime oasis or a glaring misstep that leaves your guests shielding their eyes. While the allure of illuminating your home’s exterior is undeniable, diving into the world of outdoor lighting without caution can lead to some regrettable errors. From excessive brightness to the eco-unfriendly choice of solar lights, let’s illuminate the common mistakes homeowners make and how to avoid them, ensuring your landscape lighting enhances rather than detracts from your home’s allure.
- The Lure of Excess: When Too Much Light Diminishes Your Space
The excitement of adding lights to your outdoor space can quickly lead to over illumination. Illuminating every feature in your yard, from the date palm to the mole hills, can overwhelm your space, leaving it washed out and unremarkable. The key is restraint: focus on highlighting just the special features like the majestic palm tree or your home’s architectural details. Start with a few strategic fixtures and remember, less is often more.
- The Solar Light Seduction: A False Economy
Solar lighting, with its promise of easy installation and zero running costs, can be tempting. However, their short lifespan and environmental impact make them a less sustainable choice than they appear. Instead, consider LED lighting options. Not only do they use a fraction of the energy of traditional incandescent bulbs, but they also offer a longer-lasting, more elegant solution for your home.
- Glare: The Unwanted Guest in Landscape Lighting
Improperly placed lights can create an unwelcome glare, detracting from the beauty of your landscape and potentially annoying your guests. To avoid this, careful positioning and the use of glare shields on spotlights and floodlights are essential. Remember, the goal is to enhance your space’s beauty, not blind your visitors.
- Forgetting Functionality: Lighting That Fails to Guide
While aesthetics are important, your landscape lighting should also serve a practical purpose. It should illuminate pathways, entrances, and outdoor living spaces, ensuring safe navigation and enjoyment of your property after dark. Don’t let your lighting design be solely about appearance; consider how it can improve functionality and safety.
- The Regimented Approach: Avoiding the Runway Look
Aligning lights in a straight line along pathways or driveways might seem orderly, but it can give your home the ambiance of an airport runway rather than a welcoming retreat. Opt for a staggered arrangement to create a more natural, inviting path of light.
In Conclusion
The difference between a well-lit paradise and a glaringly lit mishap lies in understanding and avoiding common landscape lighting mistakes. By focusing on the right areas, choosing sustainable options, and working with professionals, you can ensure that your outdoor space is beautifully, and wisely, illuminated.
Lighting Tips for Open Floor Plans: A Guide by Progress Lighting

In recent years, the evolution of home design has seen a significant shift towards open concept living. These spaces, free of interior walls and abundant in natural light, offer a blank canvas for families to design their dream homes. However, with this openness comes the challenge of lighting. Proper lighting is key to transforming these vast spaces into cozy, functional areas that cater to the diverse needs of a family. Progress Lighting is here to guide you through the process with essential tips for lighting your open floor plan.
Step One: Identify Zones for Your Lighting
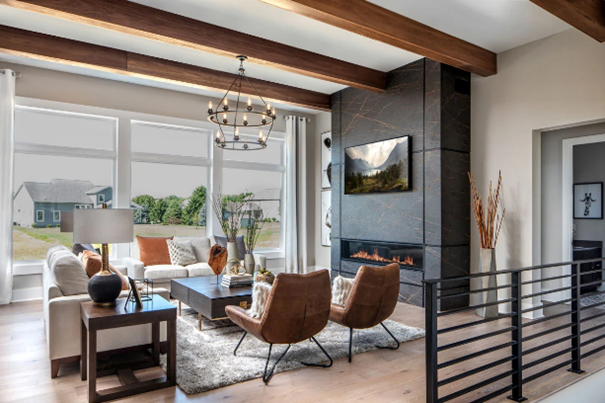
The first step in planning your lighting is to consider how you will use each part of your open floor plan. The unique architectural features of your space, such as high ceilings and extensive windows, play a crucial role in the overall lighting design. To prevent over-lighting, think in terms of layers: ambient, task, and accent lighting. Ambient lighting lays the foundation, task lighting addresses functional needs, and accent lighting adds depth and character.
Step Two: Select Task Lighting
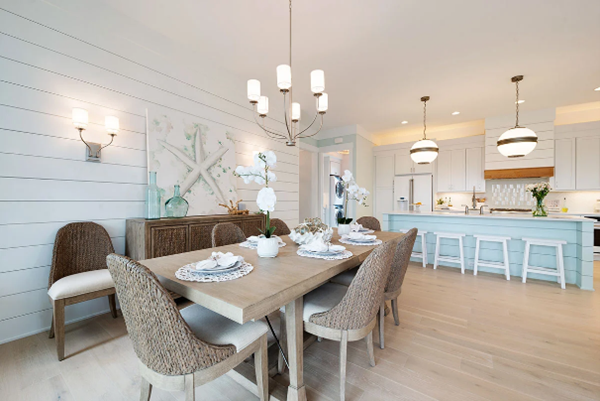
Task lighting is indispensable, especially in multi-use spaces. In the kitchen, focus on fixtures that illuminate work surfaces like countertops and islands. For the dining area, choose lighting that enhances both the functionality and the beauty of the space, making it adaptable for various activities.
Step Three: Add Mood Lighting
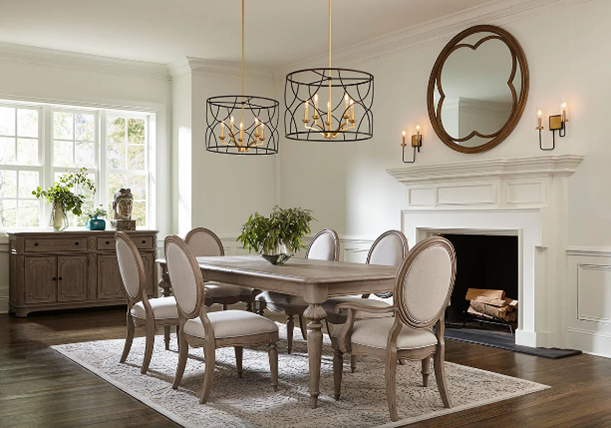
The final layer, mood lighting, brings warmth and ambiance to your open floor plan. Incorporating accent lighting through wall sconces and lamps not only creates a comfortable environment but also elevates the space’s overall aesthetic.
Achieving a harmonious lighting scheme in an open concept plan is all about balance and creativity. By considering the finish and style of your fixtures in relation to other elements in your space, such as kitchen hardware and appliances, you can create a cohesive look that reflects your personal style.
Explore our blog for more insights and inspiration on making the most of your open floor plan with strategic lighting design. At Progress Lighting, we’re committed to helping you illuminate your home in ways that are both functional and beautiful, ensuring your space works perfectly for your family’s lifestyle.
Illuminate Your Space: The Ultimate Guide to Paint Colors & Light Bulbs

When embarking on a home decorating project, the interplay between paint colors and light bulbs is an essential factor that can transform any space from ordinary to extraordinary. It’s a nuanced dance between the colors you choose for your walls and the lighting that will illuminate them, affecting everything from mood to perception and aesthetics. This comprehensive guide dives deep into how different types of light bulbs impact paint colors, helping you make informed decisions to achieve your desired home ambiance.
Understanding Color Perception
Color perception in our homes is significantly influenced by light—both natural and artificial. This dynamic affects how we experience spaces throughout the day. The right type of light bulb can complement your chosen paint colors, enhancing the room’s overall mood and feel.
The Influence of Natural and Artificial Light
Natural light showcases the truest form of your paint color, yet its intensity and availability fluctuate throughout the day. Artificial lighting becomes crucial in maintaining the vibrancy of your colors or achieving a particular atmosphere when natural light is insufficient.
Navigating Bulb Choices
- LED Bulbs:Energy-efficient and versatile, LED bulbs range widely in color temperatures. Warm LEDs (2700K – 3000K) bring warmth to reds, oranges, and yellows, making spaces cozy. In contrast, cool LEDs (3500K – 4100K) highlight blues and greens, ideal for a crisp, alert vibe.
- Halogen Bulbs:Emitting a white light that closely resembles sunlight, halogens enhance paint colors vividly and accurately, perfect for showcasing the true hues of your walls in the evening.
- Compact Fluorescent Lamps (CFLs):These bulbs provide a cooler, diffuse light, amplifying the coolness of blues, greens, and grays. However, they might distort warm tones with their subtle blueish cast.
- Incandescent Bulbs:Known for their warm, yellowish glow, incandescents excel in cozying up spaces painted in warm tones but may dull cooler colors.
Light Positioning: A Game-Changer
The placement of lighting fixtures significantly influences color perception. Overhead ambient lighting uniformly affects wall colors, while task lighting from table or floor lamps adds depth and drama through light and shadow interplay.
Testing Before Committing
To avoid surprises, test your chosen paint colors under various lighting conditions. Apply a sample on your wall, observing its appearance at different times and under different types of bulbs. This step ensures the mood and color you envision come to life precisely as intended.
Conclusion
The synergy between paint colors and lighting is a powerful tool in interior design. By considering the type of bulbs and their placement, you can create a space that not only enhances your chosen paint colors but also embodies your personal style and desired ambiance. Remember, the right lighting does more than illuminate; it transforms, defines, and elevates your space, making it uniquely yours.
The Neighborly Guide to Choosing the Right Downrod for Your Ceiling Fan

Hey, neighbors! As the temperatures rise or fall, depending on the time of year, one household feature that always keeps us comfortable is the trusty ceiling fan. But did you know that the secret to maximum comfort and efficiency from your ceiling fan lies in choosing the right downrod? Yes, that often-overlooked metal pipe that connects your fan to the ceiling has a big role to play. So, let’s dive into how to pick the perfect one for your home, courtesy of everyone’s favorite local home improvement store, Home Depot.
Understanding Downrod Sizes
MINKA-AIRE, Hunter, and More
MINKA-AIRE: They’re the go-to for versatility, offering a range of downrod sizes to fit any ceiling height and style. Whether you’re dealing with a low-profile room or a grand living space with vaulted ceilings, MINKA-AIRE has a downrod for you, ranging from 3.5 inches all the way to 36 inches.
Hunter: Another top pick for homeowners, Hunter’s selection of downrod lengths means there’s something for every ceiling height, ensuring your fan performs its best and blends seamlessly into your room’s aesthetic.
Other Brands: And let’s not forget about the other fantastic brands available at Home Depot like FANIMATION, Savoy House, and Modern Forms. Each offers a wide selection of downrod sizes, from shorter lengths for standard ceilings to longer options for those majestic high ceilings, ensuring a perfect fit for every need.
How to Choose the Right Downrod
Ceiling Height is Key
The golden rule for selecting a downrod is to consider your ceiling height. Typically, if your ceiling is 9 feet or higher, adding a downrod will help position the fan at the ideal height (about 8 to 9 feet from the floor) for optimal air flow and comfort.
Accommodating Light Kits
If your fan includes a light kit, remember to adjust your downrod length accordingly. A general guideline is to subtract 12 inches from the downrod length to accommodate the extra height brought by the light fixture.
Style Matters
Lastly, think about the overall look of your room and choose a downrod that complements both your ceiling fan and your room’s design. Home Depot offers a variety of finishes, from classic to contemporary, ensuring there’s a match for every home’s decor.
Installation Insights
Make sure there’s at least 18 inches of clearance between the fan blades and the walls.
For homes with vaulted or sloped ceilings, a sloped-ceiling mounting kit might be necessary.
Safety and efficiency should always be top of mind when selecting a downrod to match your ceiling fan.
Wrapping Up
Choosing the right downrod for your ceiling fan might seem like a small detail, but it can make a big difference in your home’s comfort and style. So next time you’re looking to update your space or install a new ceiling fan, remember these tips and head over to Home Depot or visit their website for all your needs. Happy fan shopping, neighbors!
Bryan Hindman Electric March Blog

This St. Patrick’s Day, let’s channel the spirit of the holiday by going green in more ways than one. While it’s traditional to don green attire and celebrate with festivities, why not extend the green theme to our homes with energy-efficient upgrades? Embracing eco-friendly improvements is not just a nod to the environment; it’s a smart investment that pays off, akin to finding your very own pot of gold.
Consider starting with LED lighting, which uses at least 75% less energy and lasts 25 times longer than incandescent lighting. Not only does this reduce your carbon footprint, but it also significantly lowers your electricity bills. Another game-changer is the installation of a smart thermostat. These devices learn your heating and cooling preferences, adjusting themselves to save energy when you’re asleep or away from home.
Moreover, think about the impact of upgrading to energy-efficient appliances. These appliances might come with a higher upfront cost, but the savings in energy bills can be substantial over time. This St. Patrick’s Day, let’s make a pledge to not only wear green but to live green. By making our homes more energy-efficient, we contribute to a healthier planet and enjoy the savings that come with it. Let’s transform our living spaces into examples of sustainability and efficiency, celebrating St. Patrick’s Day with a commitment to being truly green.